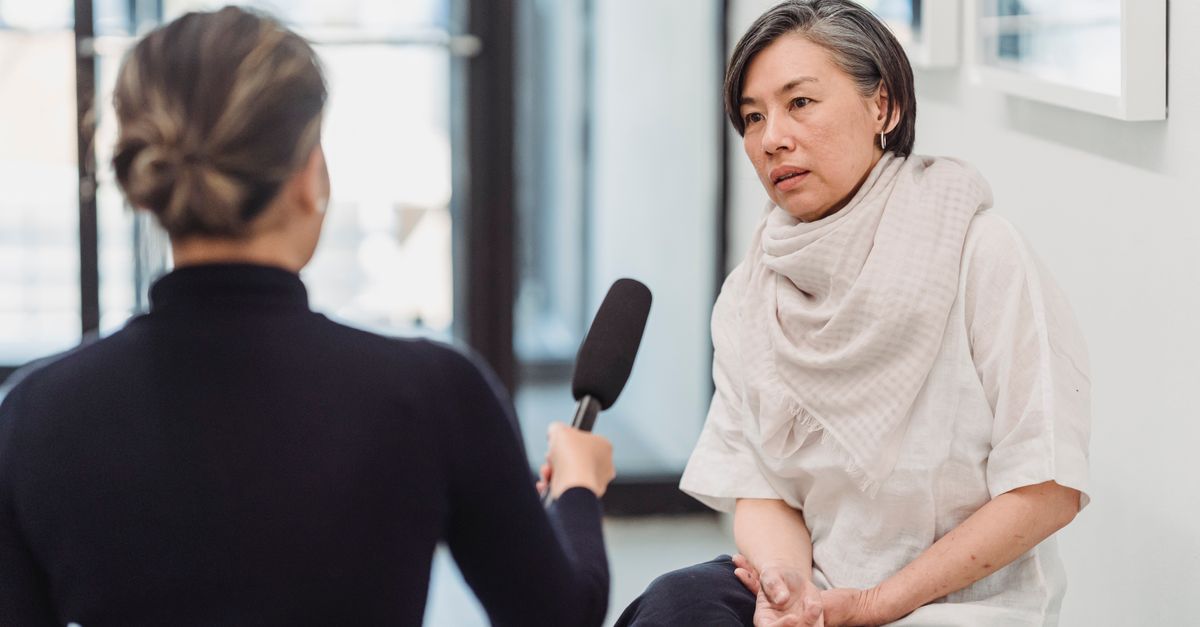
How to Conduct an Oral History Interview: The Voice-First Method for Preserving Family Heritage
My grandmother described the smell of bread her mother baked in a village that no longer appears on any map. I did not record it. The words I could half-reconstruct years later. The way her voice dropped when she said her mother’s name, I could not.
That gap is the whole reason this guide exists. Most oral history advice treats the recording as a delivery truck for facts: get the dates, get the spellings, get the names, then transcribe and file. We run our family memoir work at Fireside on the opposite assumption. We call it the Voice-First method. You capture the living voice first and treat chronology as the thing that can go missing without breaking the archive. A transcript keeps the account. The recording keeps the person.
The difference is not sentimental. It changes what questions you ask, what gear you prioritize, and what you do with the files afterward. If you are still deciding whether this is the right project at all, our complete guide to oral history explains what it is and why it matters. Here is how to run an oral history interview that survives the person who gave it.
Why Voice-First Beats Transcript-First
Census records and birth certificates give you the skeleton of a family tree. They almost never give you the heart. Oral histories fill that gap, enriching family narratives with the wisdom and memory that standard genealogical records miss, as Ancestry’s oral history guide lays out.
Here is the part most guides skip. Oral histories are not meant to be records of strictly factual information. As Legacy Tree Genealogists puts it, chronology is usually the first thing to go in memory. Chase exact dates and you will frustrate an 80-year-old and lose the story underneath. The value lives in thoughts, perspective, and feeling, and those ride in the voice.
We have watched this play out. Across 14 family memoir projects at Fireside, in 11 of the 14 the recipient opened the voice recording before reading a single page of the transcript. They wanted to hear the person, not read about them. That ordering is the entire argument for the method.
| Approach | Transcript-First (most guides) | Voice-First (this method) |
|---|---|---|
| Primary artifact | The written document | The audio recording |
| Top priority on the day | Getting facts and dates correct | Capturing tone, pauses, and emotion |
| When memory fails | Treated as a problem to correct | Accepted; the feeling still lands |
| Pros | Searchable, easy to print | Keeps the person, not just the account |
| Cons | Strips the warmth the family wants | Needs clean audio and storage discipline |
A clear audio track stays valuable even with no picture. A fuzzy one is close to worthless no matter how good the video looks. That single fact reorders every decision below.
Phase 1: Prepare (One Week Out)
You do not need to be a historian. You need a short runway. Here is the timeline we use.
“First-time interviewers and others involved in oral history projects should seek training, whether they are conducting individual research or developing a community or an institutional project.”
- Oral History Association, Core Principles
Treat that as permission to prepare lightly rather than perform expertly.
- Seven days out: Reach out to your relative. Explain the project plainly and name an estimated length. Twenty to thirty minutes is a gentle start; a full session usually runs 60 to 90 minutes. Guidelines for Conducting Oral History Interviews recommends booking at least a week ahead so the date does not feel sprung on them.
- Three days out: Do light fact research. Name spelling, birth date and place, parents’ occupations. These are memory triggers, not a quiz. (Legacy Tree frames them this way too.)
- One day out: Charge your phone, test the mic, and prepare a consent form. Both parties should sign one even for a family project, per the OHA Principles and Best Practices.
- Interview morning: Pick a quiet room. Morning hours tend to suit elderly narrators best. Place any external mic on a stand within about nine inches of the speaker.
A cell phone or a laptop with a decent microphone is genuinely enough. Spend your attention on the room being quiet, not on the camera being sharp.
Pre-Interview Checklist
- Consent form printed and ready to sign before recording starts
- Quiet room booked, phone notifications silenced
- Recording device charged, with storage space free
- A short list of opening biographical prompts written down
- Water and a comfortable chair for your narrator
- A plan for where the file goes the moment you stop recording
Phase 2: Build Questions That Unlock the Voice
The questions decide whether you get a voice or a deposition. Skip anything answerable with yes or no. Reach for prompts that ask someone to describe, not confirm.
Start easy to settle the nerves. Childhood, favorite family traditions, what an ordinary day looked like. If you want a ready bank to pull from, our list of questions for interviewing elderly relatives gives you fifty to choose between. Then move toward weight: migration, a hard decision, what they carried when they left home. If you are interviewing an immigrant relative, ask about sights, sounds, and smells. What did they bring? What tradition did they fight to keep alive?
Do not hand over a full question list in advance. The Library of Congress American Folklife Center advises being ready to detour when a narrator opens a subject you never thought to ask about, the kind of advice gathered in its family folklife oral history resources. The richest material almost always lives down those side roads.
When something lands, slow down and follow it:
- They name a person: “Tell me more about them.”
- They mention an event: “What do you remember about that day?”
- They go quiet: wait. Silence is not dead air; it is someone deciding to trust you.
Phase 3: Conduct the Interview
Open the recording with a spoken lead-in: the date, the location, who is in the room, and one line of purpose. The OHA recommends recording this lead-in at the start of every session so the file can stand on its own decades later.
Then mostly stop talking. The collaborative relationship at the center of oral history is built by listening, not steering.
“The hallmark of an oral history interview is a dynamic, collaborative relationship between the interviewer and the narrator.”
- Oral History Association, Core Principles (oralhistory.org)
Give space. If your narrator becomes emotional, let them sit with it; do not rush to the next question. If a topic hurts too much, drop it. Narrators have the right to withhold or to request anonymity, and those requests are not negotiable.
Use follow-ups to dig. “It was hard when we moved” becomes a story when you ask “What was the hardest part?” You are treating the person as the world’s only expert on their own life. Act like it, and the voice opens up.
Steps to Safeguard Your Recording After the Interview
The moment you stop recording, the voice is the asset. Follow these steps in order to protect it.
- Label the file immediately with the date, the narrator’s name, and the project title. A file named only “voice-memo-047” is lost within a year.
- Save a lossless master WAV file to a durable location: cloud storage plus an external drive is the minimum. Never let the master live in only one place.
- Make smaller compressed copies for casual sharing or family messaging, but treat the master as untouchable.
- Transcribe after the audio is safe, not before. In the Voice-First method, the transcript is the secondary artifact and the index, not the original.
- Decide how the family hears it: a printed book of transcripts, a private family-tree upload, or a tool that handles archiving end to end.
Tool Recommendation
We recommend the StoryCorps app for families who want their recording preserved beyond a hard drive. It is free, walks you through the interview, and lets you upload the conversation to the American Folklife Center at the Library of Congress, where it is archived for future historians, as StoryCorps documents on its app page. Your great-grandchild could one day pull the actual recording from a national archive.
For families who want the voice paired with a finished hardcover keepsake rather than a public archive, Fireside is best for families who want the voice bound into a printed book. Fireside sends weekly story prompts to an elder, compiles the answers into a hardcover, and keeps the original voice recording attached, so the person stays in the artifact and not only the account.
Mistakes That Cost You the Voice
- Waiting for professional gear. A clean phone recording beats a delayed studio one. The studio session often never happens.
- Skipping consent. Explain how the recording will be used and get a signature first. Never record someone secretly; secrecy poisons the trust that honest storytelling needs. (Binghamton’s oral history guide covers consent in depth.)
- Asking leading questions. “Wasn’t it difficult to leave home?” puts your assumption in their mouth. “What was it like to leave home?” leaves room for theirs.
- Chasing facts over feeling. Correcting a wrong date mid-story breaks the spell. Let the chronology wobble; the voice is what you came for.
- Over-planning. The best moments come from the detours. Stay flexible.
A Family That Got the Voice in Time
One family felt they were losing their grandfather’s life in a small Italian town. They ran the Voice-First method: a series of short 30-minute sessions across several weekends, with no pressure on dates or historical accuracy.
They asked about the games he played as a boy and the exact recipes his mother made. They treated him as the expert on his own life. The result was hours of audio carrying his personality and his values, far more than a fact sheet ever could. If hearing how other families did it would help, our real oral history examples collect ten to learn from.
At the next reunion they played the recordings. The younger cousins did not read about him. They heard him. That is the difference between an account and a person, and it is why the order of operations matters.
Frequently Asked Questions
What is an oral history interview?
It is a structured, recorded conversation that captures someone’s memories, perspective, and family stories for long-term preservation. It holds the personal experience that genealogical records leave out, which is why it matters so much for immigrant and ethnic families protecting their heritage.
How long should an oral history interview be?
Aim for 60 to 90 minutes for a full session, though a first 20 to 30 minute conversation is a fine warm-up. Several short sessions often work better than one marathon, especially with older narrators.
Do I really need consent for a family interview?
Yes. Both parties should sign a consent and release form even inside one family, per the Oral History Association. It sets expectations and protects everyone if the recording is ever shared or published.
What should I do with the recordings afterward?
Save a lossless master in at least two places first, then transcribe, then share. You can print a transcript book, upload audio to a family tree, or archive it through the StoryCorps app at the Library of Congress.
Start With the Voice This Week
Pick one elder whose voice you would miss most. Book a 30-minute window in the next seven days, even over a meal. Ask one open question about their childhood and then stay quiet. Record on the phone already in your pocket; clean audio beats waiting for gear. Save the file in two places before you touch the transcript. Try the StoryCorps app if you want a national archive, or get started with Fireside if you want the voice bound into a hardcover your family will actually open. Keep the recording, because the account can be rewritten and the voice cannot.